10 Configure your repo
These steps will auto-configure your workshop with certain variables. Note that this is a one-time process and the configure_workshop.json file will disappear afterwards. Don’t worry - if you have changes (e.g. new faculty) later on, you can always change the website.
Open your new repo’s configure_workshop.json file in your browser.
See image

Click Edit.
See image
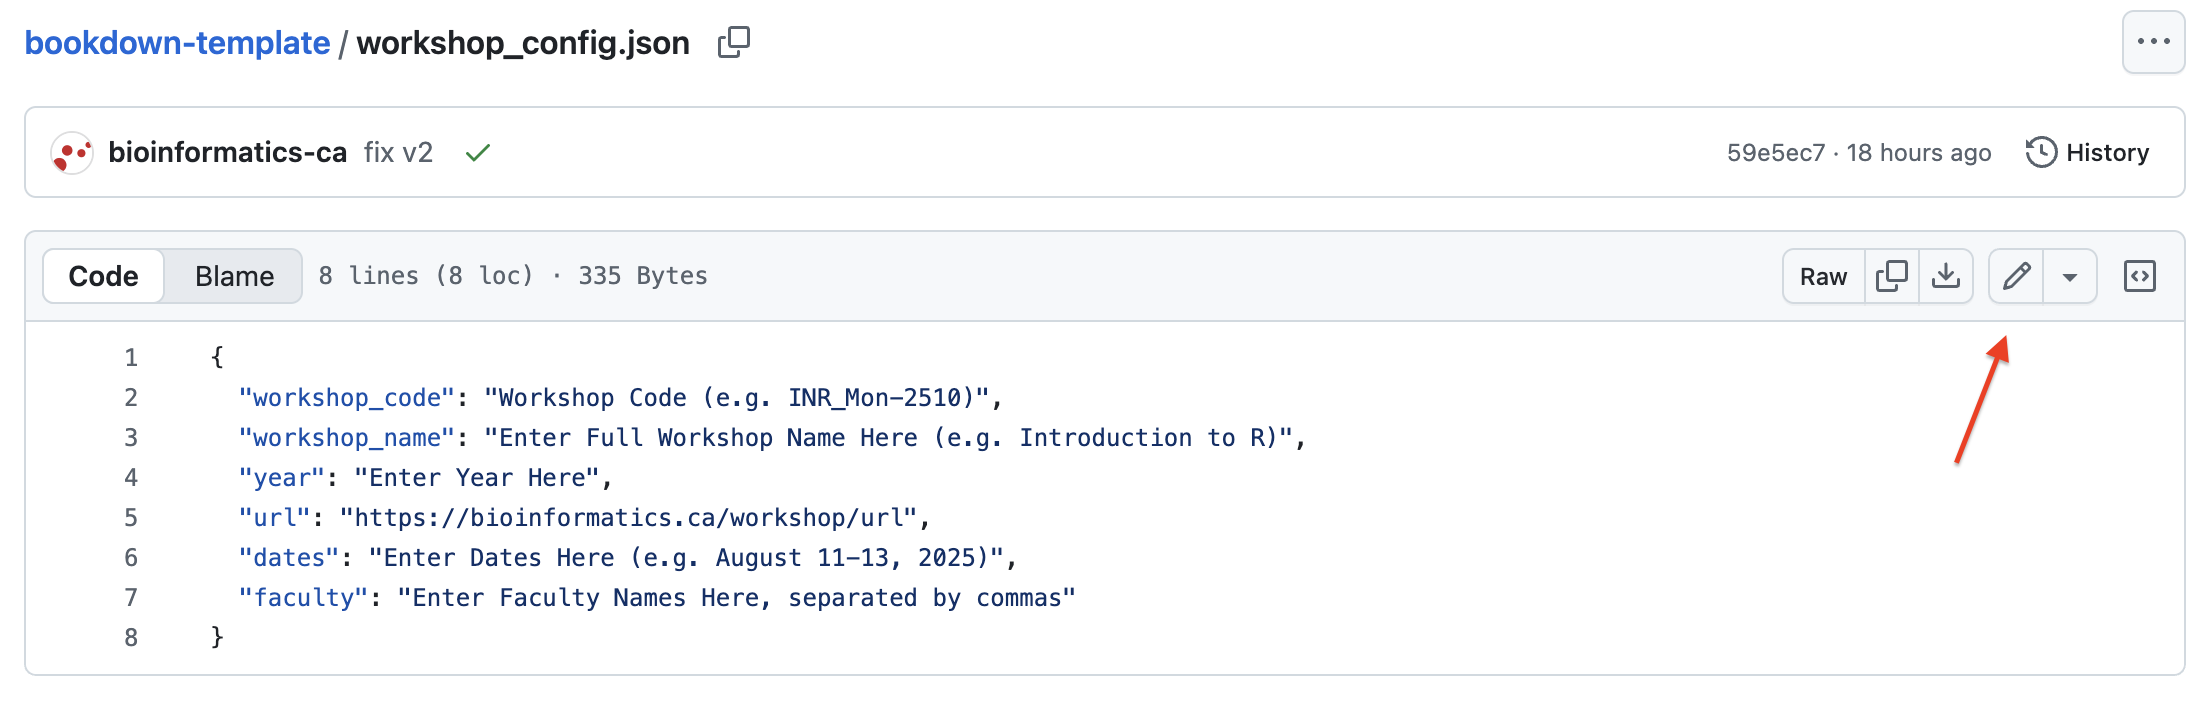
Replace all the variables, then click Commit.
See image

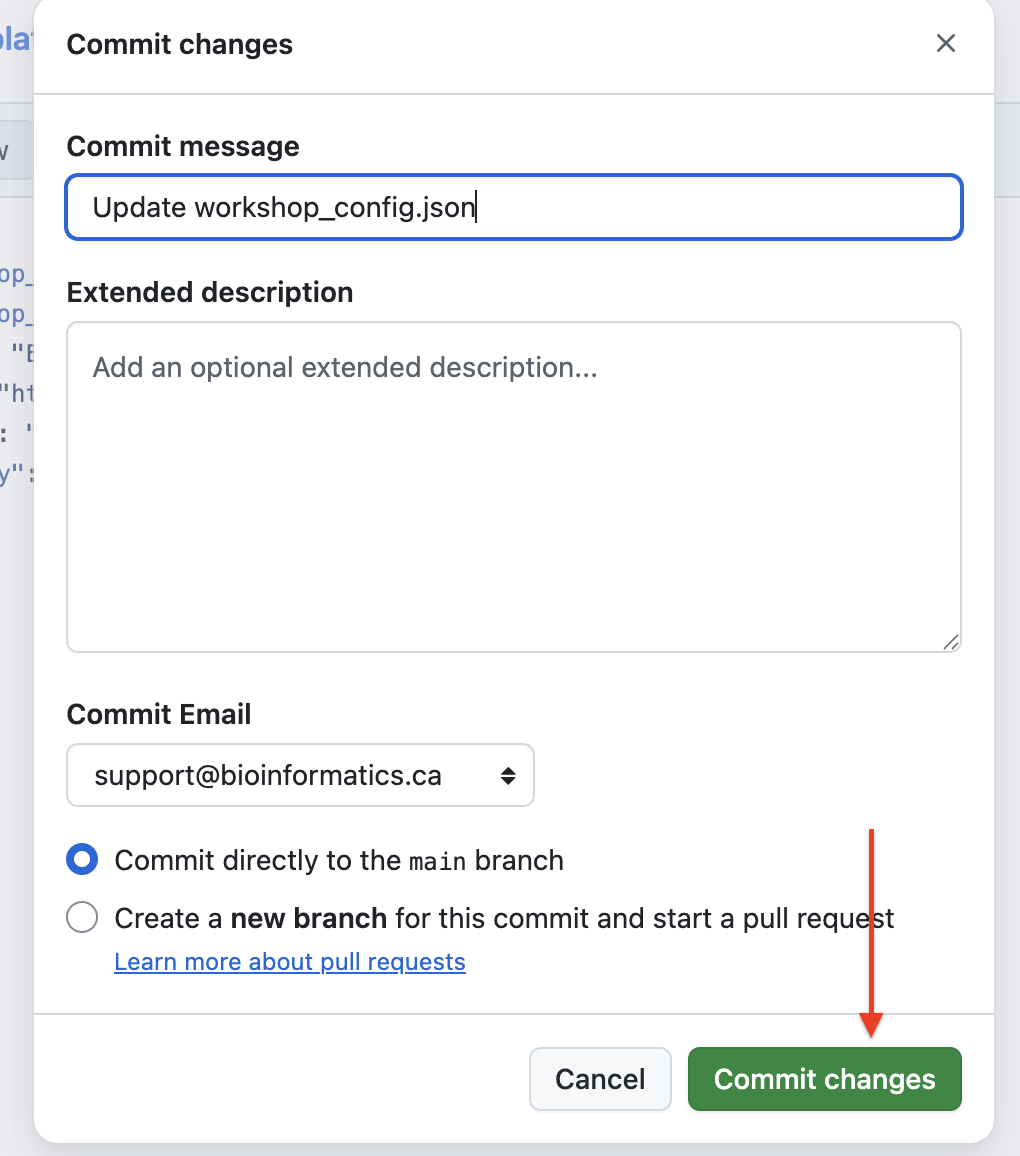
Click commit changes.
See image
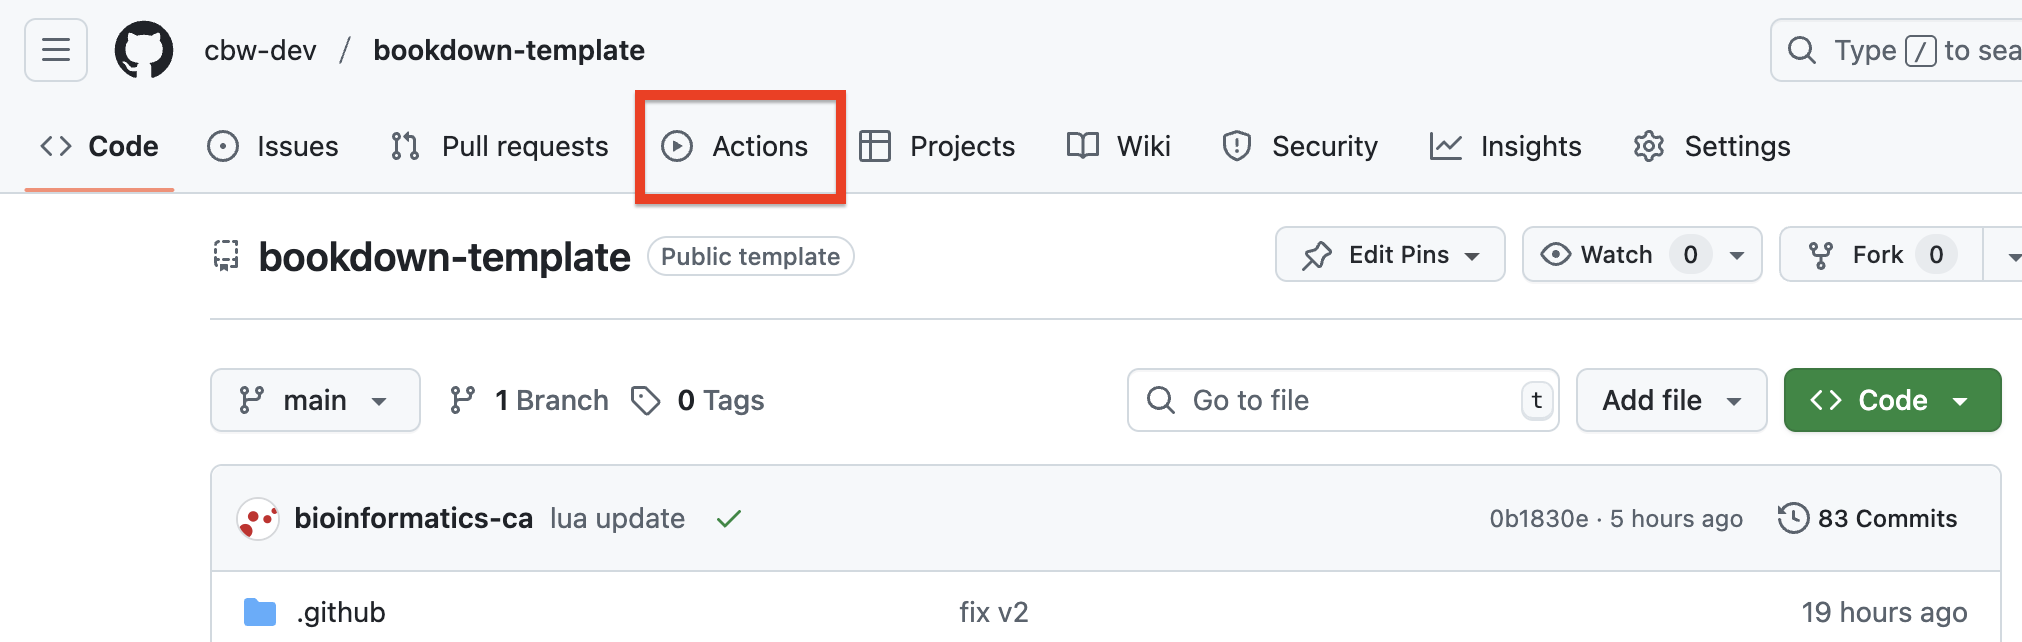
To check the progress of this configuration, click Actions in the top bar.
See image
10.1 A note on repos vs websites
An important distinction:
GitHub (ex. https://github.com/cbw-dev/bookdown-template) holds your repo, which has version control for all your files.
The deployed website (ex. https://cbw-dev.github.io/bookdown-template/) has the workshop online. It looks in the docs folder of your repo for HTML files to display.
More details
You’ve made a repository that holds what GitHub needs to
make our website. When updating the site you’ll edit the
markdown (.md) files in the main folder; they’ll be turned into HTML
files by the Build action later on. The template has been configured so
that these HTML files that make up our website go into a folder called
docs. In the next step, we’ll tell GitHub to look at the
docs folder to find our website files and make it available
to see online (a.k.a deploy it).